
As an Amazon Associate, we earn from qualifying purchases made through links on this page, at no extra cost to you.
After the grinder stops, the next minute decides a lot about the shot. The grounds sit in the portafilter in a small mound, often with clumps, gaps, and one side higher than the other. If water finds a thin spot, it rushes through that path and leaves the rest of the puck under-extracted. The result is a shot that tastes sharp in one sip and flat in the next, even when the dose and grind setting stayed the same.
Distribution tools exist to fix that uneven bed before the shot starts. The three tools most home baristas meet are the WDT tool, the leveler, and the tamper. They do different jobs, and they work best in a particular order. This guide explains what each one does, how to use it, and which ones are worth buying first.
Why an even puck matters
Espresso brewing pushes hot water through a compact bed of finely ground coffee under pressure. Water takes the path of least resistance. A dense patch slows it down, while a loose patch or a crack lets it through too fast. When that happens, part of the coffee gives up too much and part gives up too little, and the cup shows both problems at once.
Channeling is the name for water cutting a narrow path through the puck. You can sometimes spot it from below with a bottomless portafilter, where one stream spurts or sprays while the rest of the basket drips slowly. More often, you only notice it in the cup: a shot that runs fast, tastes thin and sour, or changes a lot from day to day without any change to the beans.
Distribution does not replace a good grind or a correct dose. If the grind size is far off, stirring the grounds will not save the shot. But once the grind is close, distribution is the step that makes results repeatable. For a closer look at the step before this one, see our guide to espresso grind size and dosing.
What a WDT tool does
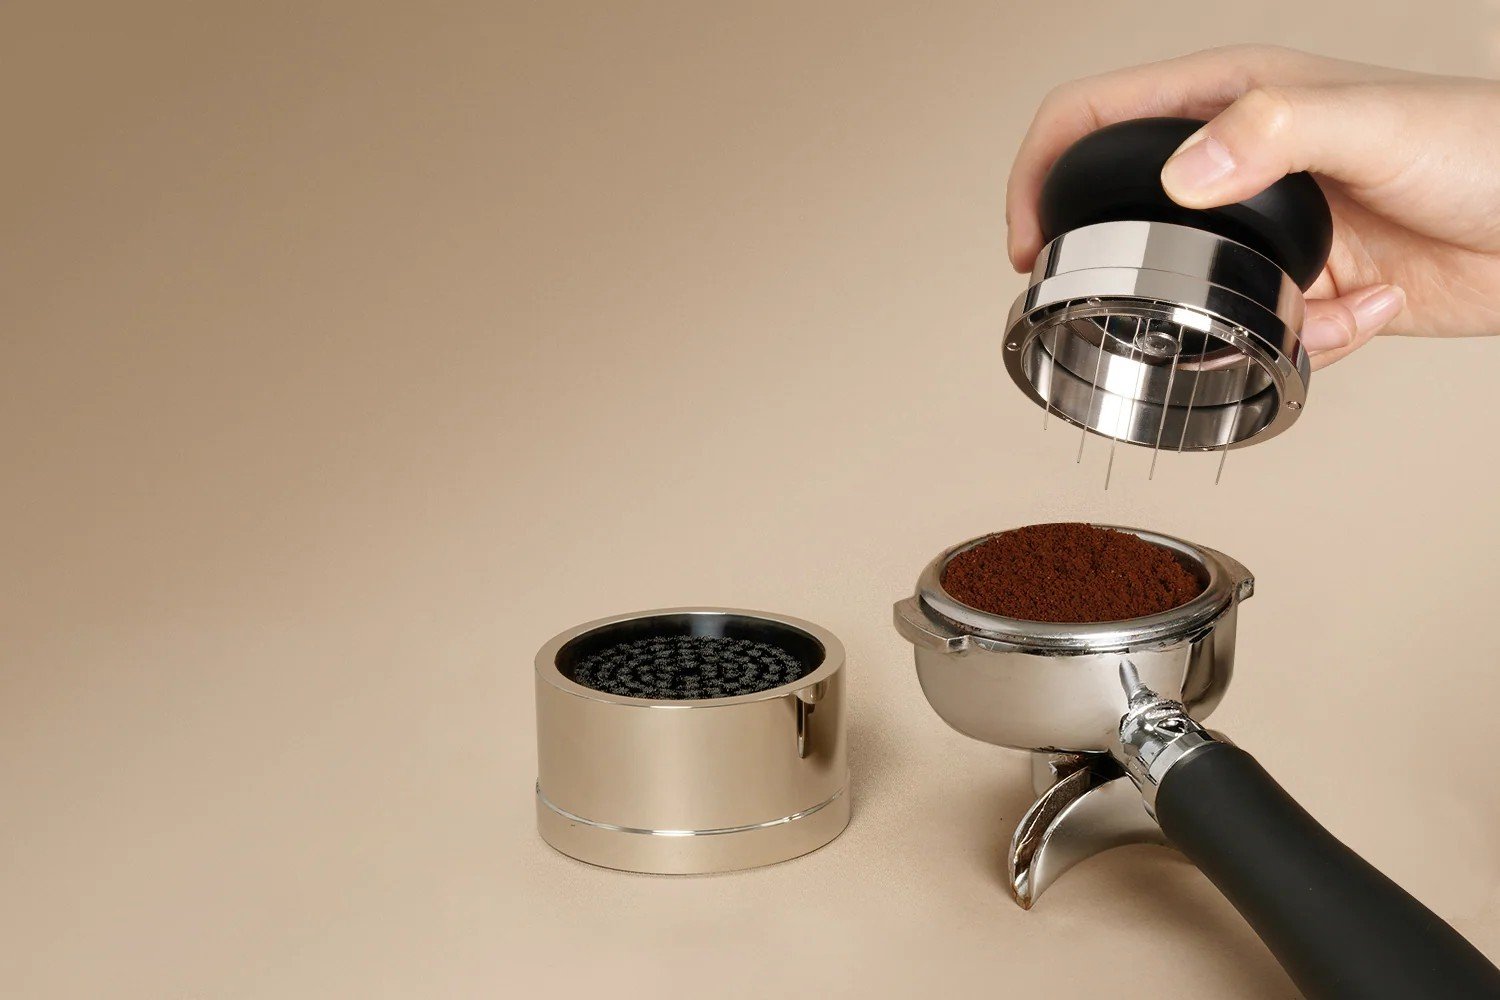
WDT stands for Weiss Distribution Technique, named for the home barista who popularized it. A WDT tool is a small handle fitted with several thin needles. You stir the grounds in the basket with the needles, working gently through the whole bed, before you level or tamp.
The point of stirring is to break up clumps and fill hidden gaps. Grinders, especially those that dose straight into the portafilter, can leave grounds piled in the center with lighter edges, or pressed into small lumps. Needles separate those lumps and spread the coffee more evenly through the basket. The bed ends up with a more uniform density from top to bottom, so water meets similar resistance across the whole puck.
Technique matters more than speed. Stir in small circles, moving from the center outward and then back, and keep the needles inside the coffee rather than scraping the basket walls. A light touch is enough. Digging hard or stirring for a long time can push fines to the bottom of the basket, which can slow the shot and add bitterness. Ten to fifteen seconds of gentle stirring is plenty for a home dose.
A WDT tool helps most when your grinder produces visible clumps, or when shots vary even though you weigh every dose. If your grinder already drops fluffy, even grounds, the gain is smaller, but many home baristas still keep the tool in the routine because it costs little and removes one variable. A standard WDT espresso needle distributor tool is the usual starting point, and it works with any basket size because the needles reach across the whole bed.
What a leveler does
A leveler, also called a distributor, is a flat disc on a handle that sits on top of the grounds. You place it in the basket and spin it a few times. The disc pushes down the high spots and sweeps loose grounds into the low spots, leaving a flat, even surface before tamping.
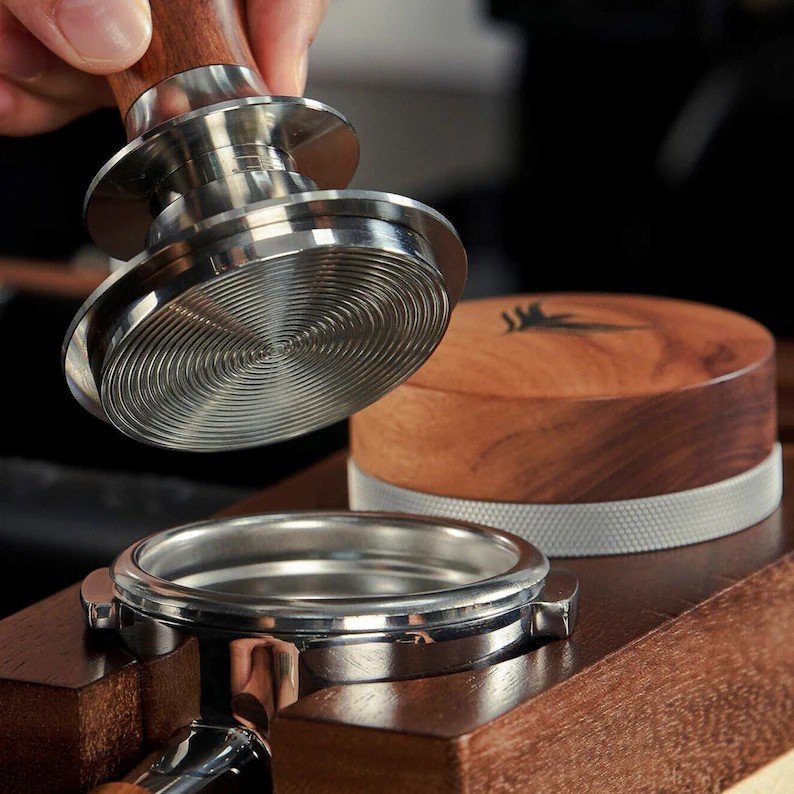
Levelers differ from WDT tools in one important way: they work on the surface, not through the depth of the bed. A leveler gives you a flat top and a consistent starting point for the tamper. It does not break up clumps buried below the surface. That is why the two tools pair well together. Stir first to even out the inside of the bed, then level to flatten the top.
Most levelers have an adjustable depth setting. You set the disc so it sits at the right height for your dose, then the tool stops at the same depth every time. That repeatability is the main benefit. Without it, the surface can end up tilted if you press harder on one side, and a tilted surface can lead to a tilted tamp.
One caution applies to levelers: they compress the top layer slightly as they spin. If you spin many times with heavy pressure, the top of the puck can become denser than the bottom, which works against the even bed you are trying to build. Three or four light turns are enough. If the surface looks flat after two turns, stop there.
Size matters when you buy a leveler. It must match your basket diameter, commonly 51mm, 54mm, or 58mm for home machines. A leveler that is too small leaves an untouched ring around the edge, and one that is too large will not fit in the basket at all. Check your basket size before ordering, since the size is often printed on the basket or listed in the machine manual. A coffee distributor leveler in the matching size is the version to look for.
What a tamper does
The tamper comes last. It is a flat piston, usually steel, sized to fit the basket, that presses the grounds into a firm, level puck. Tamping removes air pockets and locks the bed in place so it holds together when water hits it at pressure.
Good tamping is about level pressure, not force. Press straight down, keep your wrist and elbow in line with the tamper, and stop when the puck feels solid. Pressing much harder after that point adds little, and pressing at an angle is the real problem: a tilted puck is thinner on one side, and water favors the thin side.
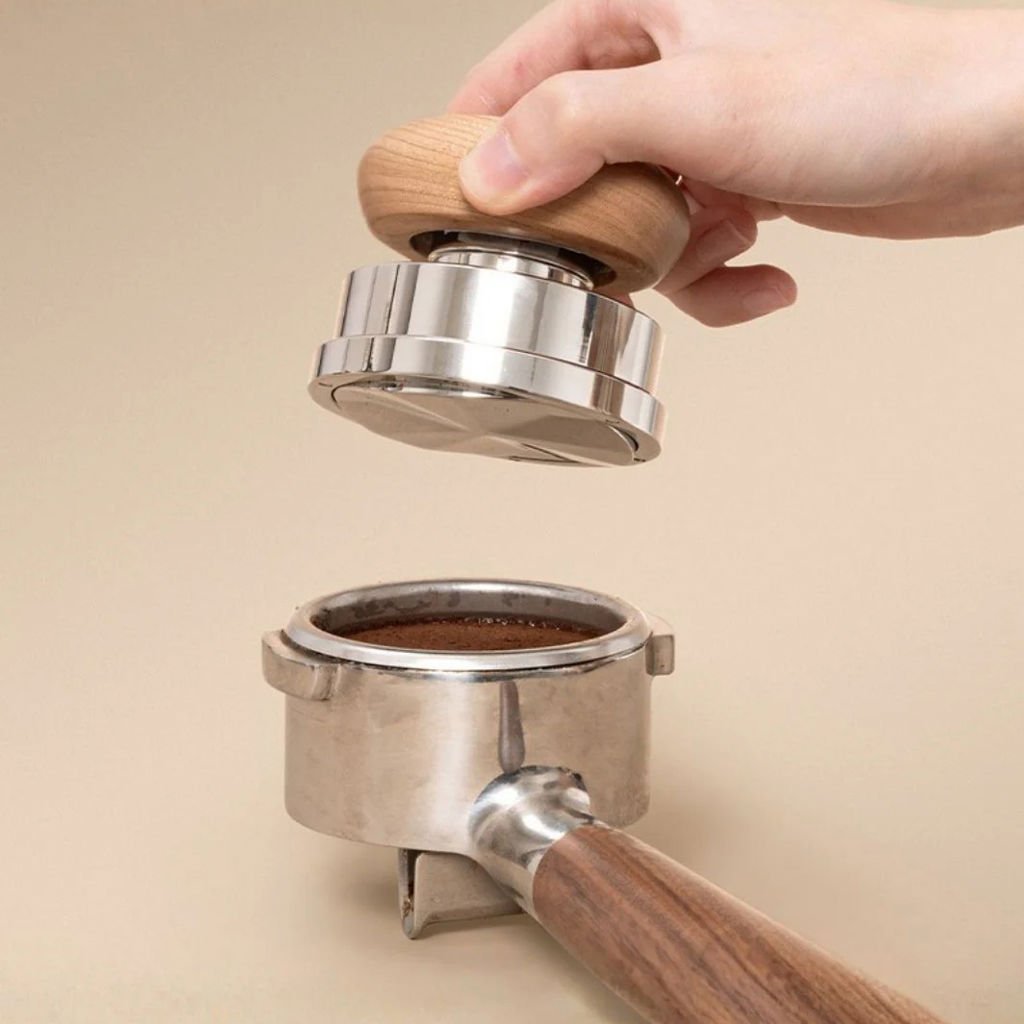
Many machines ship with a light plastic tamper. It works, but it is easy to press unevenly with it because it is light and its base may be smaller than the basket. A heavier steel tamper with a base that matches the basket gives more feedback and makes a level press easier to repeat. Some tampers are calibrated, meaning they click or stop at a set pressure, which helps beginners learn what a consistent press feels like. Calibrated or not, the goal is the same press, at the same angle, every time.
After tamping, the puck surface should look flat and smooth, with a clean ring of basket visible around the edge. If you see a crack, a deep fingerprint, or one side sitting lower, the puck was likely tamped at an angle. In that case, it is better to empty the basket and start over than to brew through a damaged puck. A steel espresso tamper matched to your basket size is a solid upgrade from a stock plastic tamper.
Putting the three tools in order
The routine that works for most home setups runs in this order:
- Dose into the basket and weigh the dose if you have a scale.
- Stir gently with the WDT tool to break up clumps and even out the bed.
- Spin the leveler a few light turns to flatten the surface.
- Tamp straight down with level pressure, then check that the surface is flat.
- Lock in the portafilter and brew right away, so the puck does not sit and dry out.
Some baristas skip the leveler and go straight from WDT to tamping, using the tamper itself to flatten the surface. That works fine once your tamping is consistent, and it keeps the routine shorter. Others skip the WDT tool and rely on the leveler alone, which is fine when the grinder produces even grounds. The full three-step routine is most useful while you are still learning, or when shots keep varying for reasons you cannot pin down.
Grind quality still sits underneath all of this. A grinder that produces a wide mix of fine dust and coarse chunks will make distribution harder, since no amount of stirring fully fixes an uneven particle mix. If you are choosing a grinder as well, our comparison of conical vs flat burr grinders explains how burr shape affects the grounds you are working with.
Comparison: WDT tool vs leveler vs tamper
| Tool | What it fixes | When to use it | Buy it first if |
|---|---|---|---|
| WDT tool | Clumps and gaps inside the bed | Right after dosing, before leveling | Your grinder clumps or shots vary day to day |
| Leveler | Uneven or tilted surface | After WDT, before tamping | Your tamps keep coming out tilted |
| Tamper | Loose bed and air pockets | Last, before brewing | You still use a light stock plastic tamper |
For shoppers, the links in this guide point to the three tool types discussed: a WDT espresso needle distributor tool, a coffee distributor leveler, and an espresso tamper. In each case, match the size to your basket before buying.
Common mistakes to avoid
Stirring too aggressively
Fast, deep stirring looks thorough, but it can push fine particles downward and create a dense layer at the bottom of the basket. Keep the motion slow and shallow, and stop once the bed looks uniform.
Spinning the leveler too many times
Extra spins do not make the surface flatter. They pack the top layer tighter than the rest of the bed. A few light turns, then stop.
Tamping at an angle
An angled tamp is the most common distribution mistake, and it is easy to miss because the puck still looks pressed. Stand so you can see the basket from above, keep the tamper handle vertical, and check the finished surface before brewing.
Buying the wrong size
Distribution tools only work when they fit the basket. A 58mm tamper in a 54mm basket is useless, and a leveler a few millimeters too small leaves the edge of the puck untouched. Measure the basket or check the machine manual first. This is the same sizing question that comes up with other parts of the setup, and it is worth getting right before spending anything.
Adding tools before fixing the basics
If the dose changes every shot, or the grinder setting drifts, distribution tools will only partly help. Weigh the dose, keep the grind setting steady, and then judge whether a tool changed the result. Change one thing at a time, so you know what actually helped.

Which tools should you buy first
Start with the tamper if you are still using the plastic one that came with the machine. A proper tamper is used on every shot, and it is the tool where a bad fit causes the most trouble. Next, add a WDT tool if your grinder clumps or your shots are inconsistent. It is inexpensive, it works with any basket size, and it addresses the inside of the puck, which the other tools cannot reach.
Add a leveler last, or skip it if your tamps already come out flat. It is a convenience and consistency aid rather than a necessity, and careful tamping can cover much of the same ground. If you do buy one, choose the adjustable kind so it matches your usual dose, and keep the spinning light.
For readers still choosing a machine, the workflow differences between boiler designs also affect how much time you spend on puck preparation each morning. Our guide to single vs double boiler vs heat exchanger workflow covers that side of the routine.
The bottom line
WDT tools stir the bed, levelers flatten the surface, and tampers lock the puck in place. Used in that order, with a light touch and the right basket size, they take one of the biggest sources of variation out of home espresso. Buy the tamper first, add the WDT tool when clumps or inconsistency show up, and treat the leveler as a helpful extra rather than a required purchase. The payoff is not a different kind of coffee. It is the same coffee, tasting the same way, shot after shot.